

The Rosewood Edit
Design inspiration, renovation advice, and expert perspective
Your Ultimate Step-by-Step Guide to Finishing & Remodeling Your Basement in Northern Virginia
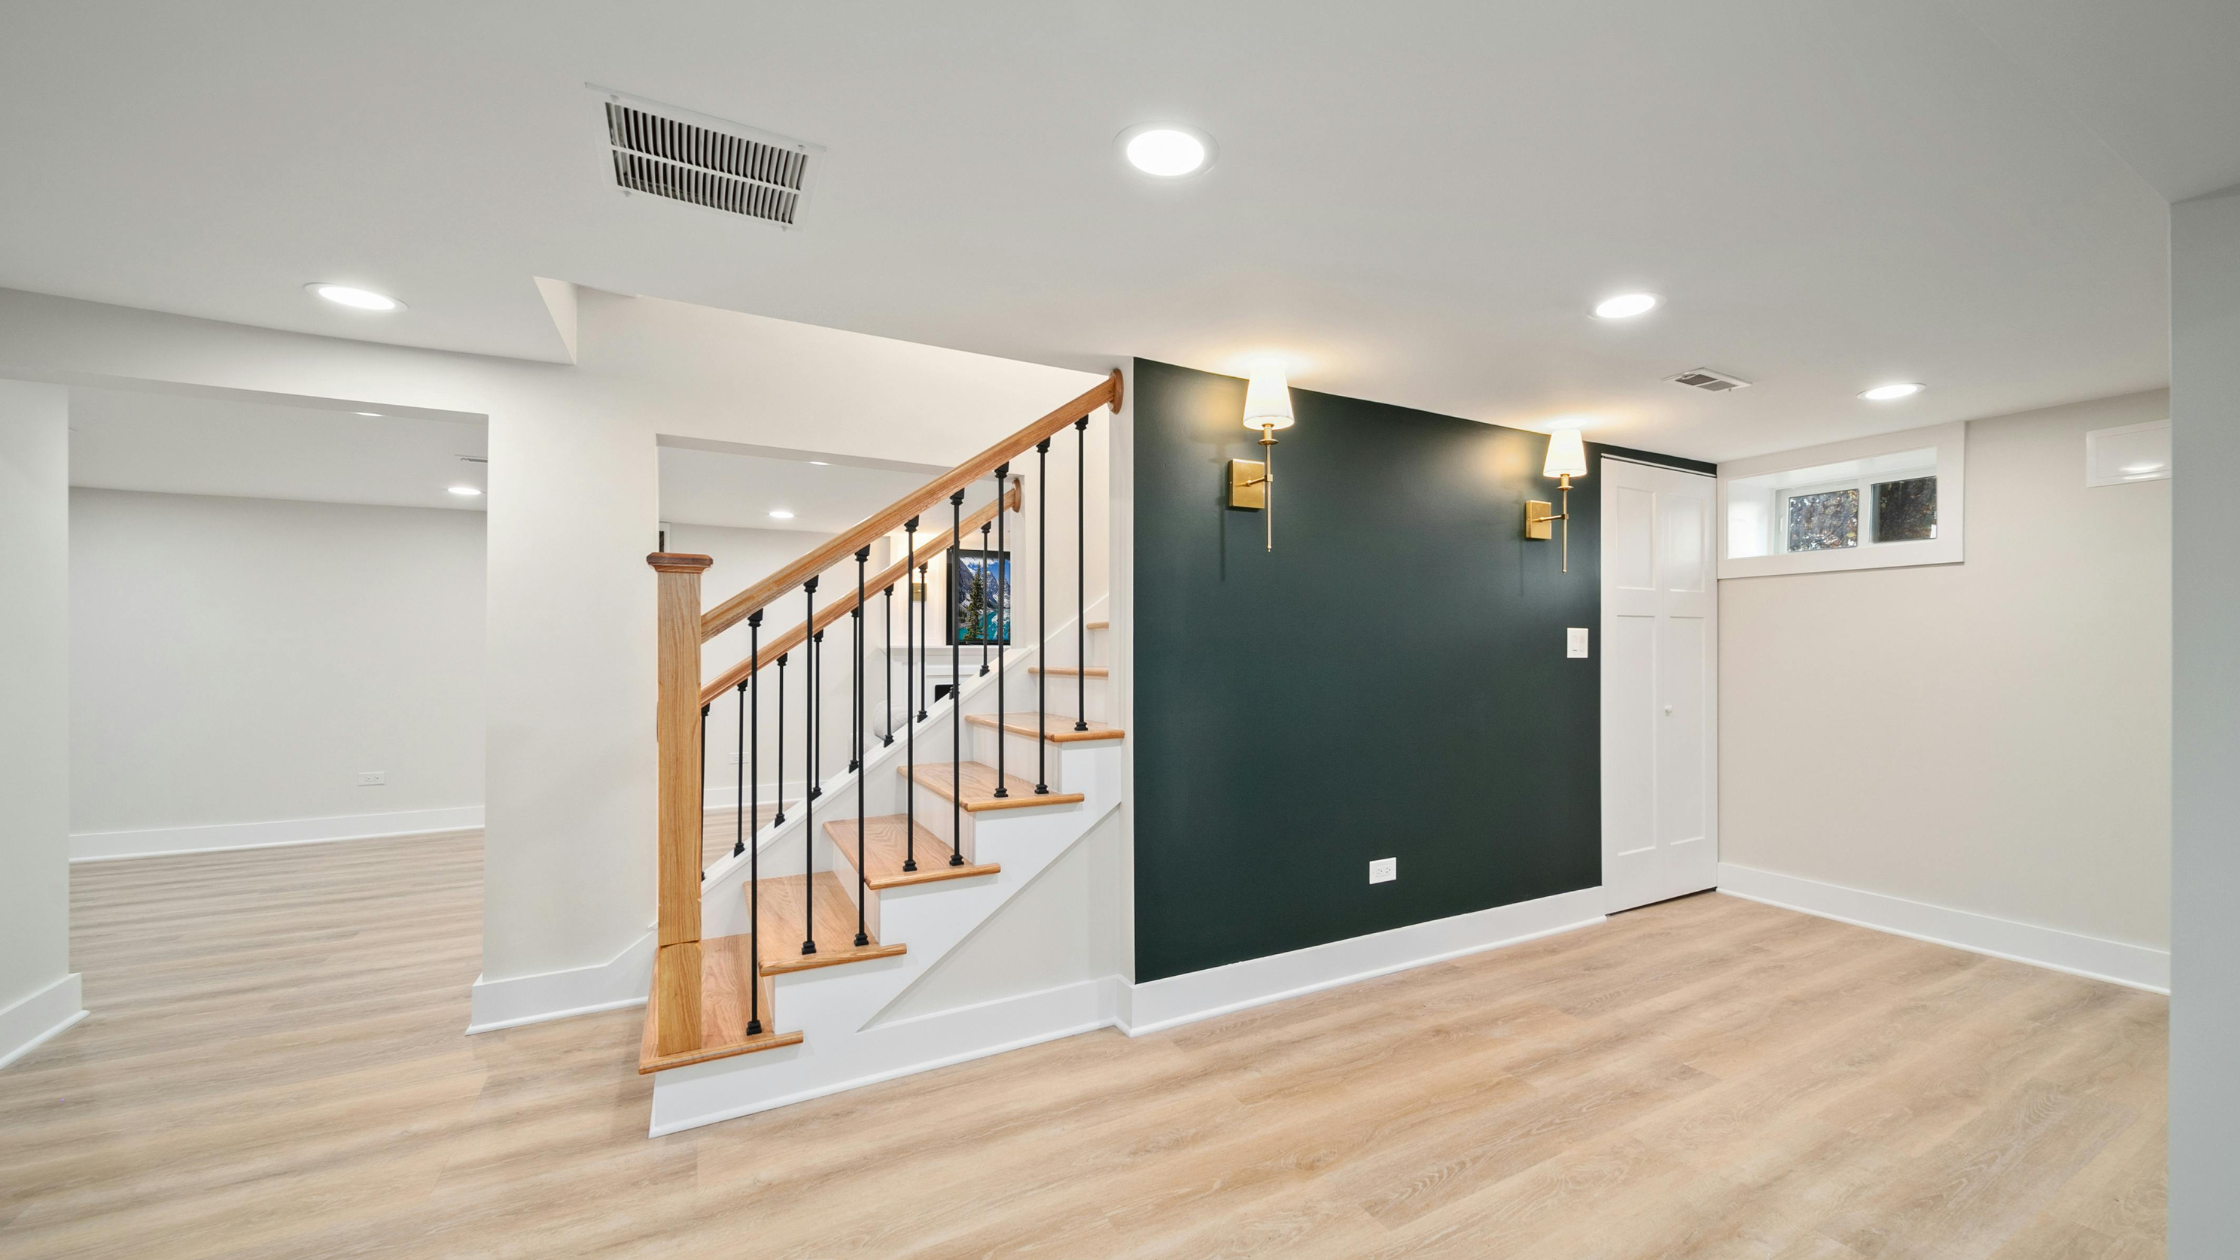
Transforming an unfinished basement from a seldom-used storage area into a functional, comfortable living space is one of the most impactful home improvement projects you can undertake. A well-finished basement not only adds valuable square footage but also significantly enhances your home’s overall appeal and value. However, the process can seem daunting. This comprehensive guide breaks down the entire basement remodeling journey into manageable steps, from initial vision and planning to the final decorative touches and long-term maintenance. Whether you’re a seasoned DIYer or planning to hire professionals, this guide will equip you with the knowledge to navigate your basement renovation with confidence.
Table of Contents
Laying the Groundwork: Vision, Planning & Permits
The foundational planning phase involves three key steps: defining your vision, creating a detailed budget, and ensuring compliance with local building codes.
The success of any major renovation hinges on meticulous planning. Rushing into construction without a clear vision, a realistic budget, and an understanding of local regulations can lead to costly mistakes and prolonged timelines. This initial phase is about setting a solid foundation for your entire project.
Defining Your Vision and Goals
Before a single tool is picked up, envision what you want your finished basement to be. Consider its primary purpose: a family room, a home office, a guest suite, a home theater, a playroom, or a combination of these. Think about the flow of the space, how you’ll use it, and what kind of atmosphere you want to create. This vision will drive your design choices, from layout and room division to lighting and finishes. Sketching out potential layouts or creating a mood board can be invaluable at this stage. Understanding your long-term goals for the space will ensure your remodeling decisions are strategic and sustainable.
Crafting Your Budget and Project Plan
Basement remodeling projects can vary widely in cost depending on scope, materials, and labor. It’s crucial to establish a realistic budget early on. Research average costs in your area for different components like framing, electrical work, plumbing, insulation, drywall, and finishes. Always include a contingency fund of at least 10-20% of your total budget to cover unexpected issues that inevitably arise during a renovation. A detailed project plan should outline the sequence of tasks, estimated timelines for each phase, and anticipated expenses. This plan will serve as your roadmap and help you stay organized and on track.
Navigating Permits and Building Codes
Compliance with local building codes and securing the proper permits are essential steps in any basement renovation or conversion project. These regulations exist to ensure safety, structural integrity, and long-term habitability. Building codes commonly address minimum ceiling heights, electrical and plumbing standards, insulation, ventilation, and fire safety.
A critical consideration—particularly when adding bedrooms or living quarters—is egress. Most municipalities require at least one code-compliant egress window or door in sleeping areas, providing a safe and accessible escape route in the event of an emergency. Egress requirements often specify minimum window sizes, sill heights, and exterior clearance, all of which should be factored into the design early.
If your project includes creating an Accessory Dwelling Unit (ADU), additional regulations typically apply. ADU requirements may involve separate entrances, fire separation between units, soundproofing, parking considerations, utility metering, and zoning restrictions. Some jurisdictions also impose occupancy limits or rental regulations specific to ADUs.
Failing to obtain the appropriate permits or meet code requirements can result in costly fines, mandated rework, and complications when selling or insuring your home. Engaging your local building department early—and working with a contractor experienced in basement conversions and ADUs—helps ensure your project is fully compliant and designed for long-term success.
Critical Pre-Construction Assessment & Preparation
Basements present unique challenges compared to above-ground living spaces. Before embarking on the construction phase, a thorough assessment of the existing structure is paramount to prevent future problems and ensure a healthy, durable finished basement.
Comprehensive Basement Inspection and Assessment
Before any demolition or construction begins, conduct a detailed inspection of your entire basement. Look for any signs of structural issues with the foundation walls, such as cracks or bowing. Check the condition of the existing concrete floor. Identify the location and functionality of your sump pump, if you have one. Note the condition of any existing plumbing and electrical lines, and understand how your existing HVAC system serves the basement area. This assessment will highlight any immediate concerns that need addressing before you proceed with the remodeling.
Mastering Moisture Control and Waterproofing
Moisture is the single biggest enemy of a finished basement. Addressing potential water intrusion and managing humidity is critical for preventing mold, mildew, and structural damage. Thoroughly inspect exterior drainage around your home, ensuring gutters are clean and downspouts direct water away from the foundation. Inside, check for leaks around pipes, windows, and foundation walls. Consider installing or upgrading your waterproofing system, which may include interior or exterior drainage systems, sump pumps, and vapor barriers. Sealing foundation cracks and ensuring proper ventilation are also essential components of effective moisture control. Proactive waterproofing is far more cost-effective than remedial repairs down the line.
Building the Foundation: Framing, Electrical, Plumbing & HVAC Rough-ins
Once the groundwork is laid and the space is prepped, the physical construction of your new basement begins. This phase involves creating the structural framework, running essential utilities, and preparing the space for drywall and finishes.
Framing Your New Layout
Framing is the skeletal structure of your new rooms. This involves building walls with wood or metal studs to define the layout of your planned spaces, including bedrooms, bathrooms, and living areas. Accurate framing ensures straight walls, square corners, and properly constructed openings for doors, windows, and any built-in features. The framing also provides attachment points for insulation, drywall, and cabinetry. If you’re adding new windows, particularly egress windows, proper framing around these openings is crucial for both structural integrity and window functionality.
Essential Electrical Work
The electrical rough-in is a critical stage that lays the groundwork for all your lighting, outlets, and appliances. This involves running new wiring, installing junction boxes, and planning the placement of switches and outlets according to your design and local electrical codes. It’s advisable to over-plan your electrical needs, anticipating future technology and convenience. Consider ample outlets in various locations, dedicated circuits for heavy-duty appliances or entertainment systems, and provisions for smart home devices. Hiring a licensed electrician is essential to ensure all work is safe, code-compliant, and properly executed.
Plumbing for New Fixtures
If your basement renovation includes adding or relocating plumbing fixtures like a bathroom, wet bar, or laundry area, the plumbing rough-in is when these lines are installed. This involves running hot and cold water supply lines and drain/waste/vent (DWV) pipes to the planned fixture locations. Proper slope for drainage, venting to prevent sewer gas backflow, and connection to your home’s main water and sewer lines are all critical aspects of this work. Again, engaging a licensed plumber is vital to ensure all installations meet plumbing codes and function reliably.
Integrating HVAC and Airflow
Ensuring comfortable and consistent temperatures throughout your finished basement is heavily dependent on proper HVAC integration. This phase involves extending existing ductwork, adding new vents, or even installing a separate HVAC zone for the basement. Proper airflow is crucial for both comfort and preventing moisture buildup. Consider adding exhaust fans in bathrooms to manage humidity. Consulting with an HVAC professional will help you design a system that effectively heats and cools your new space, balancing it with the rest of your home’s climate control.
Creating Comfort: Insulation, Drywall & Soundproofing
With the essential utilities in place, the next step is to create a comfortable, finished environment. Insulation, drywall, and soundproofing play pivotal roles in making your basement a cozy and private retreat.
Choosing the Right Insulation for Your Basement
Proper insulation is key to energy efficiency and comfort in a basement. Basements are particularly susceptible to heat loss and gain due to their proximity to the earth. Options include fiberglass batt insulation, spray foam insulation, and rigid foam boards. For basement walls, especially those in contact with the ground, using moisture-resistant insulation like rigid foam or closed-cell spray foam is often recommended. Pay special attention to insulating the rim joist – the area where the foundation meets the wood framing – as this is a common source of air leaks and heat loss.
Installing Drywall and Achieving Smooth Walls
Drywall transforms the framed, insulated walls into smooth, paint-ready surfaces. The process involves cutting and hanging drywall panels, followed by taping, mudding (applying joint compound), and sanding to create seamless joints and corners. Achieving a smooth finish requires patience and skill. For basements, consider using moisture-resistant drywall in areas prone to higher humidity, such as bathrooms. Proper installation ensures a clean, professional look that serves as a perfect canvas for paint and other finishes.
Enhancing Privacy and Peace: Soundproofing
Basements can sometimes be prone to noise transfer from upstairs or between rooms. If you plan to use the space for a home theater, music room, or even just a quiet office, soundproofing measures can significantly enhance comfort and privacy. This can involve using sound-dampening insulation, adding a layer of resilient channel or sound-dampening drywall to walls and ceilings, and using acoustic sealants to fill gaps. Even simple measures like choosing solid-core doors can make a difference.
Finishing Surfaces: Ceilings & Flooring
With the walls prepared, it’s time to address the overhead and underfoot elements that define the character and functionality of your new basement rooms.
Ceiling Options for Basements
The ceiling in a basement plays a significant role in aesthetics, accessibility to utilities, and overall feeling of spaciousness. Common options include:
- Drywall Ceilings: Offer a seamless, finished look, similar to rooms upstairs. However, they can make accessing plumbing or electrical lines above difficult for future repairs.
- Drop Ceilings: These systems use a metal grid suspended from the joists, into which ceiling tiles are placed. They offer excellent accessibility to utilities and can also help with sound absorption.
- Exposed Joists: For a more industrial or modern aesthetic, leaving the joists exposed and painting or staining them can be an option, provided they are clean and visually appealing.
Consider the desired ceiling height and accessibility needs when making your choice.
Selecting the Best Flooring for Basement Environments
Basement flooring needs to withstand potential moisture issues and heavy traffic. Durability and moisture resistance are key factors. Popular and practical choices include:
- Luxury Vinyl Plank (LVP) or Tile (LVT): Highly water-resistant, durable, and available in a wide range of styles and wood or stone looks. They are an excellent choice for basements.
- Ceramic or Porcelain Tile: Impervious to water and very durable, making them ideal for bathrooms or high-traffic areas.
- Carpet Tiles: Offer warmth and comfort and can be easily replaced if damaged or stained. Opt for low-pile, synthetic options for better moisture resistance.
- Engineered Hardwood: While some engineered woods can be used in basements, it’s crucial to select a product specifically rated for below-grade installation and ensure meticulous moisture control.
Avoid solid hardwood or carpeting that is not tile-based, as they are highly susceptible to moisture damage.
The Final Touches: Lighting, Paint & Details
This is where your basement truly comes to life, transforming from a functional shell into a welcoming and personalized living space. Attention to detail here makes a significant difference.
Illuminating Your Space: Lighting Design
Effective lighting is crucial for making a basement feel bright, inviting, and spacious. A layered lighting approach is best, incorporating:
- Ambient Lighting: Provides overall illumination, typically from recessed lights (can lights) or ceiling fixtures.
- Task Lighting: Focused light for specific activities, such as under-cabinet lighting in a wet bar or a desk lamp in a home office.
- Accent Lighting: Used to highlight architectural features, artwork, or create mood.
Consider the functionality of each area when planning your lighting. Dimmers offer flexibility in controlling ambiance. Natural light, if available through new or existing windows, should also be maximized.
Choosing Colors and Painting Your Basement
Paint is one of the most cost-effective ways to transform a basement. Light and neutral colors can make the space feel larger and brighter, especially important in areas with limited natural light. Consider colors that complement your flooring and furnishings. A good quality primer is essential, especially over new drywall, to ensure even paint coverage and durability. Don’t underestimate the impact of color on mood; use it strategically to create the desired atmosphere.
Trim, Doors & Built-ins
The finishing details like trim, interior doors, and any custom built-ins (like shelving or entertainment units) add character and a polished look to your finished basement. Ensure trim is installed neatly and painted or stained to match your design scheme. Choosing attractive, well-fitting doors enhances privacy and aesthetics. Custom built-ins can optimize space and add functional storage or display areas, contributing significantly to the overall design and utility of the space.
Maximizing Potential: Specialized Spaces & Smart Home Integration
Beyond basic living areas, think about how you can leverage your remodeled basement for specific purposes and integrate modern conveniences.
Creating Dedicated Spaces
Basements are ideal for creating specialized areas that might not fit elsewhere in your home. Consider designing distinct zones for a home gym, a media room with a large screen, a quiet home office, or a dedicated play area for children. Planning these spaces during the initial design phase ensures adequate electrical outlets, lighting, and layout considerations for their intended use.
Integrating Smart Home Technology
Modern renovations offer a perfect opportunity to future-proof your home with smart technology. This can include installing wiring for smart lighting, thermostats, security systems, and robust Wi-Fi coverage throughout the basement. Consider integrated speakers for surround sound or smart home hubs for centralized control of various devices. Planning for these integrations during the rough-in phases is far more efficient than retrofitting them later.
Project Completion & Longevity: Inspections, Clean-up & Maintenance
The final stages involve ensuring the project meets all standards, tidying up, and establishing practices for long-term enjoyment and preservation of your newly finished basement.
Final Inspections and Occupancy Permits
Once construction is complete, your local building department will likely conduct final inspections to ensure all work meets code requirements. This is a crucial step to obtain the final occupancy permit, which signifies that the space is safe and legally habitable. Do not skip this step, as it is essential for compliance and future saleability.
Post-Construction Clean-Up
After the contractors have finished, a thorough clean-up is necessary. This involves removing all construction debris, dust, and protective coverings. Hiring a professional cleaning service experienced in post-construction clean-up can ensure every nook and cranny is spotless, making your new space ready to enjoy immediately.
Maintenance for Longevity
A finished basement requires ongoing care to maintain its condition and longevity. Regularly check for any signs of moisture or leaks, especially after heavy rain. Ensure your sump pump is functioning correctly. Keep an eye on humidity levels and use dehumidifiers if necessary. Regular cleaning of flooring and surfaces will help keep your space looking its best. Proper maintenance ensures your investment continues to provide comfort and value for years to come.
Ready to Talk Through Your Basement Project?
Finishing and remodeling your basement is a significant undertaking, but with careful planning, attention to detail, and a systematic approach, it is a rewarding process that can dramatically enhance your home.
A successful basement remodel starts with clear planning and the right guidance. If you’re considering finishing or remodeling your basement and want to understand what’s possible in your home, Rosewood Building and Design is here to help. Our team will walk through your goals, existing conditions, and next steps so you can move forward with clarity and confidence.
Contact Rosewood to schedule a conversation about your basement project and begin planning a space designed to last.